 Sam Stoelinga
Deploying Stable Diffusion Web UI on GKE Autopilot
Tue 30 May 2023 | Last updated on Sun 09 July 2023Deploying Stable Diffusion WebUI on K8s can be challenging, but no more. Learn how to do it by:
- Creating a GKE autopilot cluster
- Deploying AUTOMATIC1111 Stable Diffusion Web UI
- Accessing the UI through port forwarding
Not up for a challenge? Maybe deploying Stable Diffusion on a GCE VM is easier for you.
Create a GKE Autopilot cluster:
gcloud container clusters create-auto sd \
    --region us-central1
Build and push the docker image to Google Artifact Registry:
export PROJECT_ID=$(gcloud config get project)
export IMAGE=gcr.io/$PROJECT_ID/sd-webui:latest
git clone https://github.com/samos123/stable-diffusion-webui-docker
cd stable-diffusion-webui-docker
gcloud builds submit
Your Stable Diffusion Web UI image will now be available in Google Container Registry.
Create a file named stable-diffusion.yaml with the following content:
apiVersion: apps/v1
kind: Deployment
metadata:
  name: stable-diffusion-webui
spec:
  replicas: 1
  selector:
    matchLabels:
      app: stable-diffusion-webui
  template:
    metadata:
      labels:
        app: stable-diffusion-webui
    spec:
      nodeSelector:
        cloud.google.com/gke-accelerator: "nvidia-tesla-t4"
        # remove this node selector if you don't want to use spot
        cloud.google.com/gke-spot: "true"
      containers:
      - name: sd
        image: $IMAGE
        env:
        - name: LD_LIBRARY_PATH
          value: /usr/local/nvidia/lib64
        resources:
          limits:
            nvidia.com/gpu: 1
          requests:
            cpu: "3500m"
            memory: "14Gi"
            ephemeral-storage: 10Gi
Create the deployment:
envsubst < stable-diffusion.yaml | kubectl apply -f -
Creating the pod will take a while, because GKE Autopilot will create nodepool that meets your pod resource requirements. You can check the latest status by running:
kubectl describe pod -l app=stable-diffusion-webui
After a few minutes you should see an event that the pod triggered scale up and the pod should become running. This might take up to 15 minutes due to scale up being slow and pulling a 17GB docker image isn't fast.
Verify that Stable Diffusion is running:
kubectl logs deployment/stable-diffusion-webui
Access the Stable Diffusion WebUI by forwarding ports:
kubectl port-forward deployment/stable-diffusion-webui 7860:7860
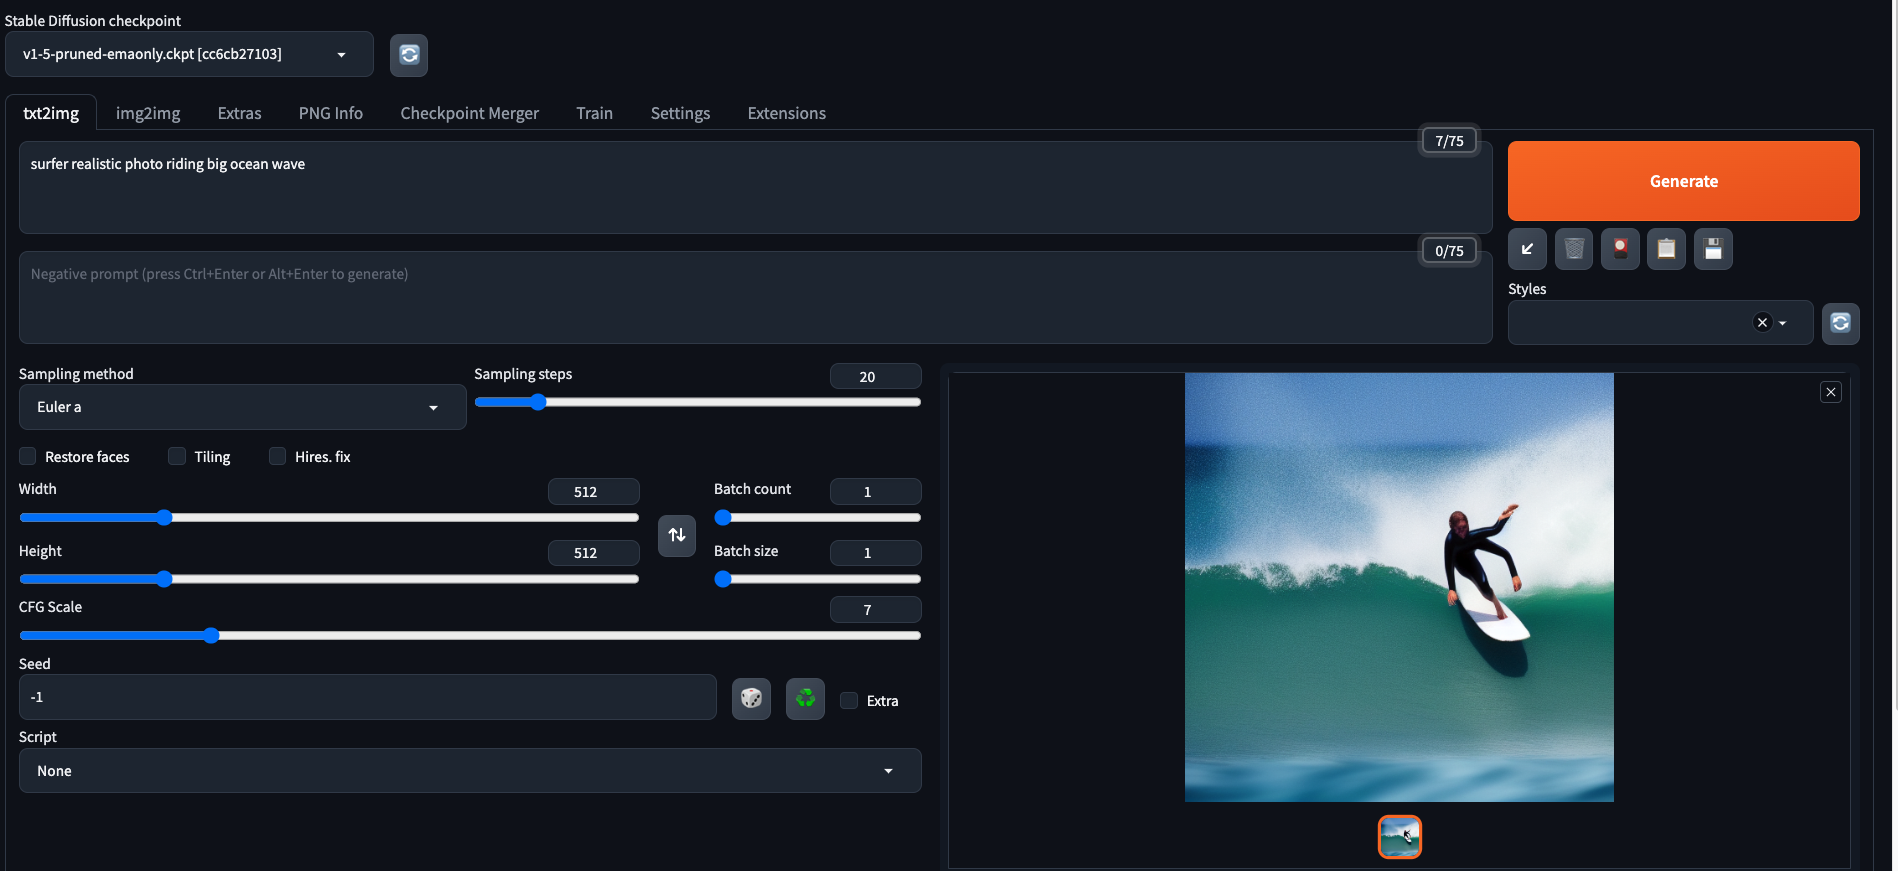
In your browser go to the following URL: http://localhost:7860
You should now see Stable Diffusion Web UI like this:
Exposing Stable Diffusion Web UI to the internet
This isn't recommended and there is a risk that your service will get abused by others unless you add some form of authentication.
You can expose the deployment using the following:
kubectl expose deployment stable-diffusion-webui \
  --type=LoadBalancer --name=stable-diffusion-webui \
  --port=80 --target-port=7860
After a while you should see an external IP address assigned to the service. Verify by running:
kubectl get services stable-diffusion-webui
Now you should be able to go to http://external_ip to access Stable Diffusion Web UI
Relevant resources:
- Source for the docker image: https://github.com/samos123/stable-diffusion-webui-docker.
- Instructions on how to build the stable diffusion webui docker image in GCE.